Welcome — what this guide covers
This guide gives you a step-by-step, practical onboarding sequence for a Trezor device. Whether you're new to hardware wallets or just refreshing your procedure, follow each step carefully. To begin your setup, always start at trezor.io/start — that's the official web interface and the safest place to initialize your device.
Before you begin
Unbox only in a private space, verify the device packaging and integrity, and have a pen and paper ready for your recovery seed. Do not set up your device on a public Wi-Fi or public computer if you can avoid it. The recommended first step is to navigate to trezor.io/start using a browser you trust, checking that the URL and security certificate match the official site.
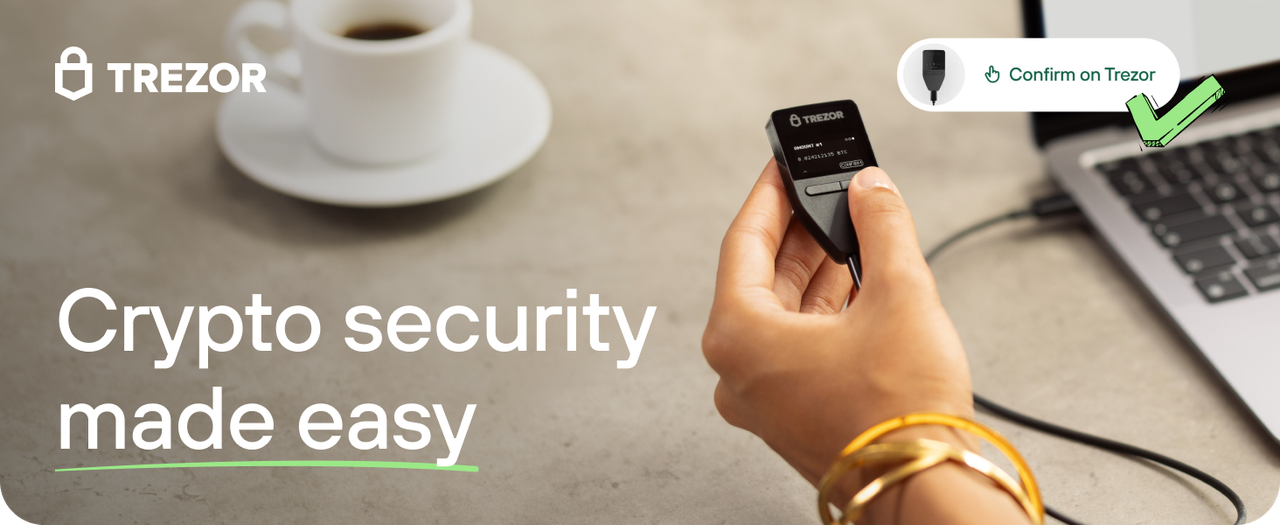
Step 1 — Connect and verify firmware
Plug the Trezor device into your computer and open the official onboarding flow. The device will prompt you to check firmware authenticity — always confirm this on the device screen. Genuine devices show consistent prompts to verify firmware; if something looks off or the device requests keys or passwords via your computer, stop immediately and contact support.
Step 2 — Create a new wallet
When asked whether to create a new wallet or recover an existing one, choose to create a new wallet if you are starting from scratch. The device will generate a recovery seed — a sequence of words — which is the single most important item protecting your funds. Record these words precisely and in order. Do not take a photo or store them digitally.
Step 3 — Secure your recovery seed
Write the recovery seed on the provided card or on durable backup media. Consider redundancy: two separate physical copies kept in different secure locations (for example, a safe and a secure deposit box). Remember, anyone with access to your seed can control your funds. Keep it offline and private at all times.
Step 4 — Set a PIN and optional passphrase
Protect your device with a PIN. Choose a PIN that is not easily guessable and avoid obvious numeric patterns. For additional security, advanced users can enable a passphrase: this acts as a 25th word to the recovery seed and offers plausible deniability and extra compartmentalization. Use passphrases thoughtfully — they are powerful but must be remembered or backed up like a seed.
Step 5 — Verify addresses and transactions
When receiving funds, always verify the receiving address on the Trezor device screen before sharing it or accepting transfers. When sending, confirm the recipient address and amount on the device screen, not just on your computer. This protects you from malware that might modify displayed addresses in the browser.
Common onboarding mistakes and how to avoid them
- Storing the recovery seed digitally (photos, cloud storage) — avoid this at all costs.
- Using unofficial setup pages — always use trezor.io/start and confirm the SSL certificate.
- Ignoring firmware verification — always check firmware authenticity directly on the device.
- Failing to test a small transaction first — send a small test amount to confirm the flow works.
Recovering from a lost or damaged device
If your device is lost or damaged, you can recover your wallet using the recovery seed on another Trezor device or a compatible wallet that supports the same standard. The recovery process requires the exact words in correct order; without them, recovery is not possible. Treat seed backups as the highest priority for safekeeping.
Advanced tips
Consider using a metal backup for the seed to protect against fire and water damage. Use multi-signature setups for very high-value holdings and split-controls. For regular smaller-value spending, you may keep a small hot wallet for convenience while holding the majority of funds in your Trezor-protected cold storage.
Where to get help and next steps
If you need help during onboarding, consult the official documentation and knowledge base available through the official site. Again, begin at trezor.io/start for verified tools and instructions. Avoid third-party “how-to” pages that ask for sensitive details or propose shortcuts that compromise security.
Following these steps will put you in control of your crypto assets with a strong foundation in best practices. Remember: secure backups, firmware verification, and device-only confirmations are the pillars of safe hardware wallet use.
Begin setup at trezor.io/start